The science teacher in me enjoys exposing children to the wonders of science, but finding the right experiments to do at home can be tough. That’s why I was so excited to find the blooming paper flower experiment on Pinterest. It looked fun and easy to achieve. Plus, it incorporated art and science into one fun activity.
Take a look at how we completed the activity below for more information.
How It Started
As I mentioned in the intro, I found this activity on Pinterest. I instantly thought that the pretty flowers “blooming” in water would captivate my nieces’ attention. Therefore, I quickly started clicking on the link to find out more about this experiment. The link led me to the Teach Beside Me website which contained all of the information required to complete the activity.
Materials
Once on the website, I realized the experiment was relatively simple to complete. It required only a few materials that I had lying around the house.
- printer paper
- flower template
- pan filled with water
- crayons or markers
- scissors
- food coloring (optional)
Procedure
The instructions were fairly simple.
- Print out the flower template from the computer.
- Color the flowers using crayons or markers.
- Fold each petal of the flower inward.
- Fill a bowl or pan with water. Add food coloring for some extra pizazz (optional).
- Place the folded flowers into the pan of water and watch them “bloom”.
The Process
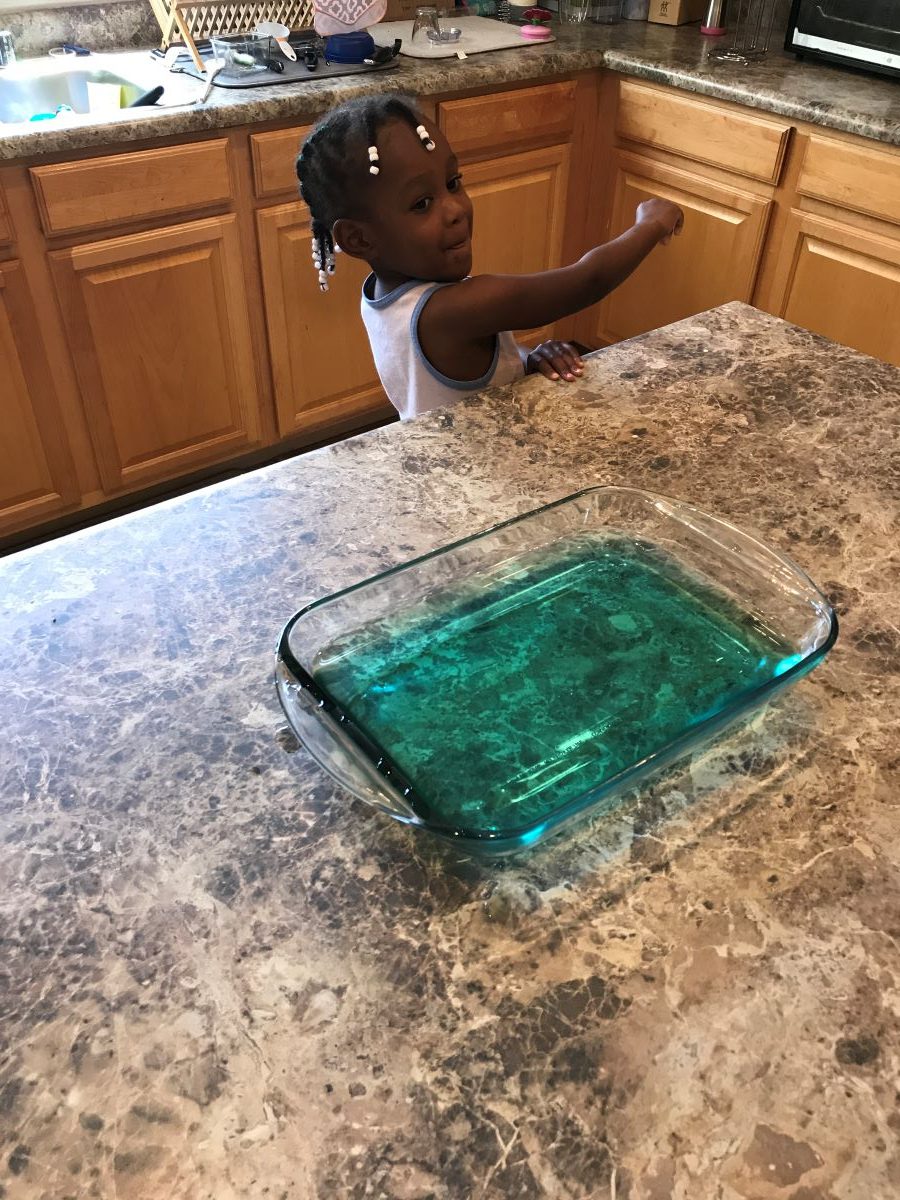
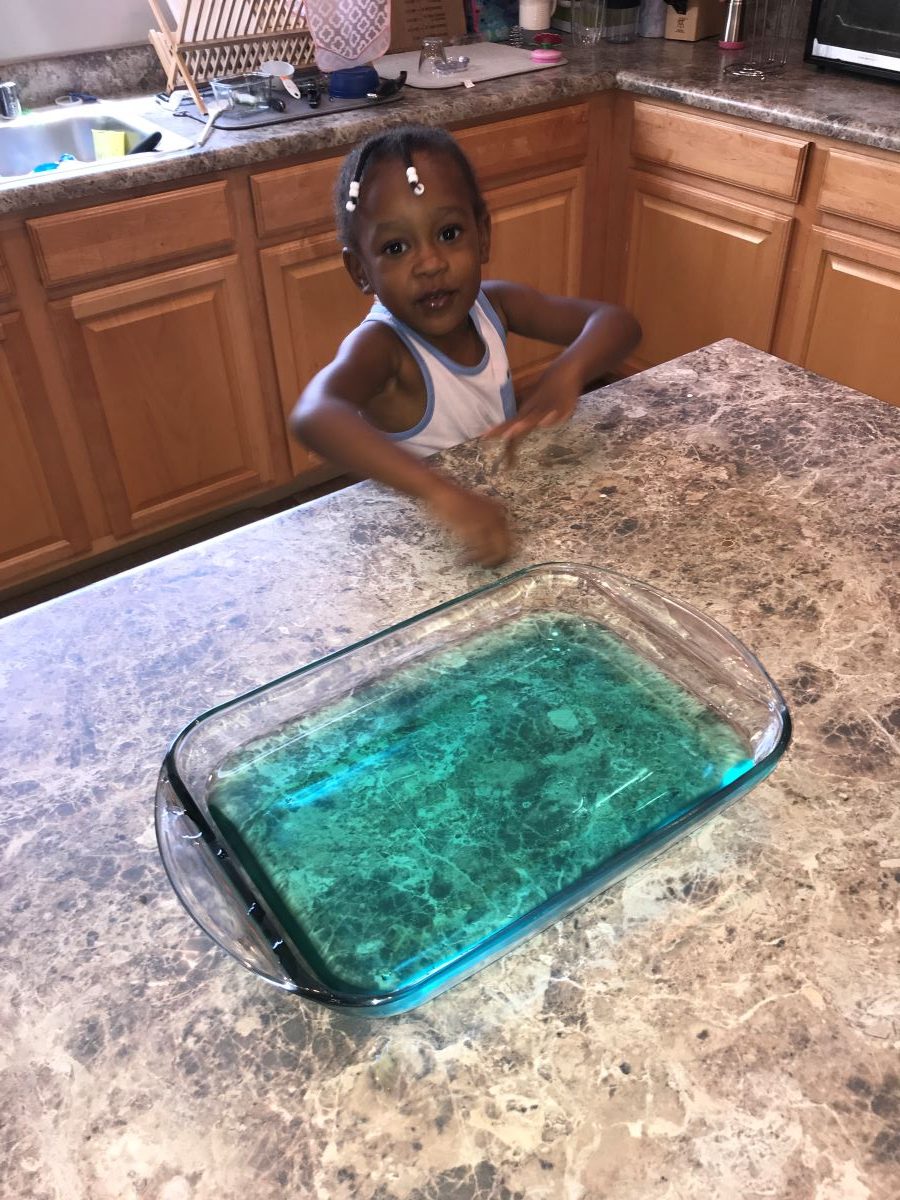
While I was planning this activity, my experience as a science teacher kicked in immediately. First, I gathered all of the materials in one place. Then I printed and cut the flowers ahead of time because neither one of the children had the fine motor skills to do this part of the activity. Finally, I filled the glass baking dish with water and food coloring and sat it on the kitchen counter.
I then presented the activity to my nieces who were excited to do another fun science project. I gave them the cut out flowers to color with the marker and crayons. They really enjoyed that part of the experiment because it allowed them to flex their creative muscles.
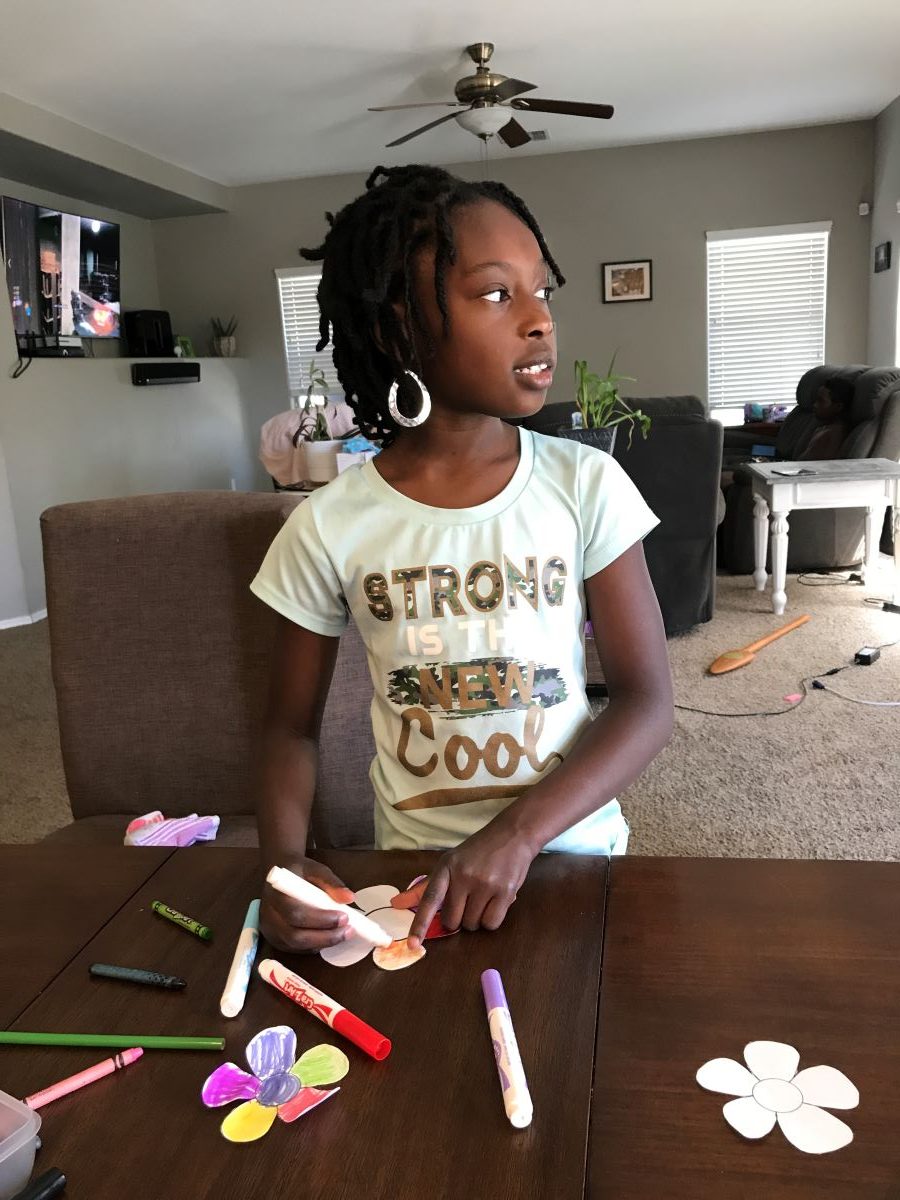
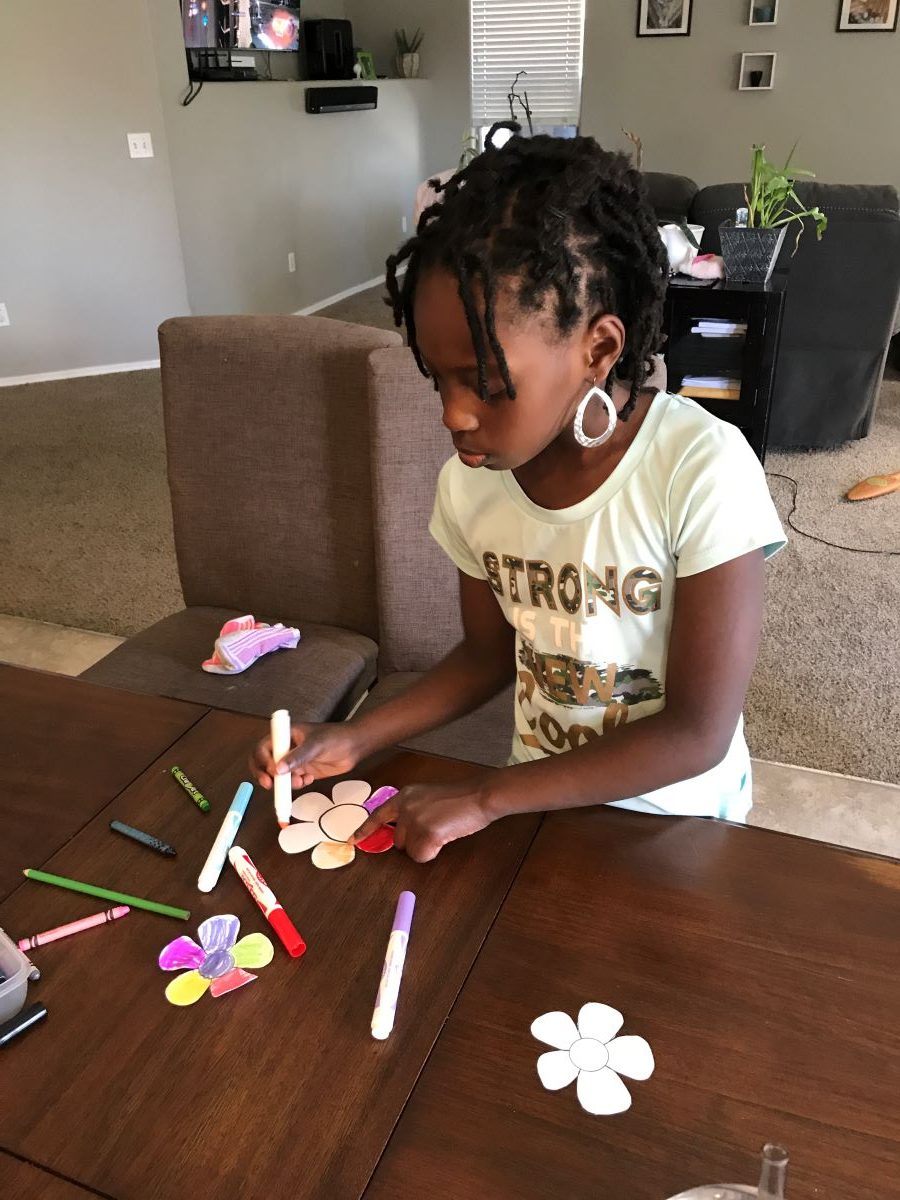
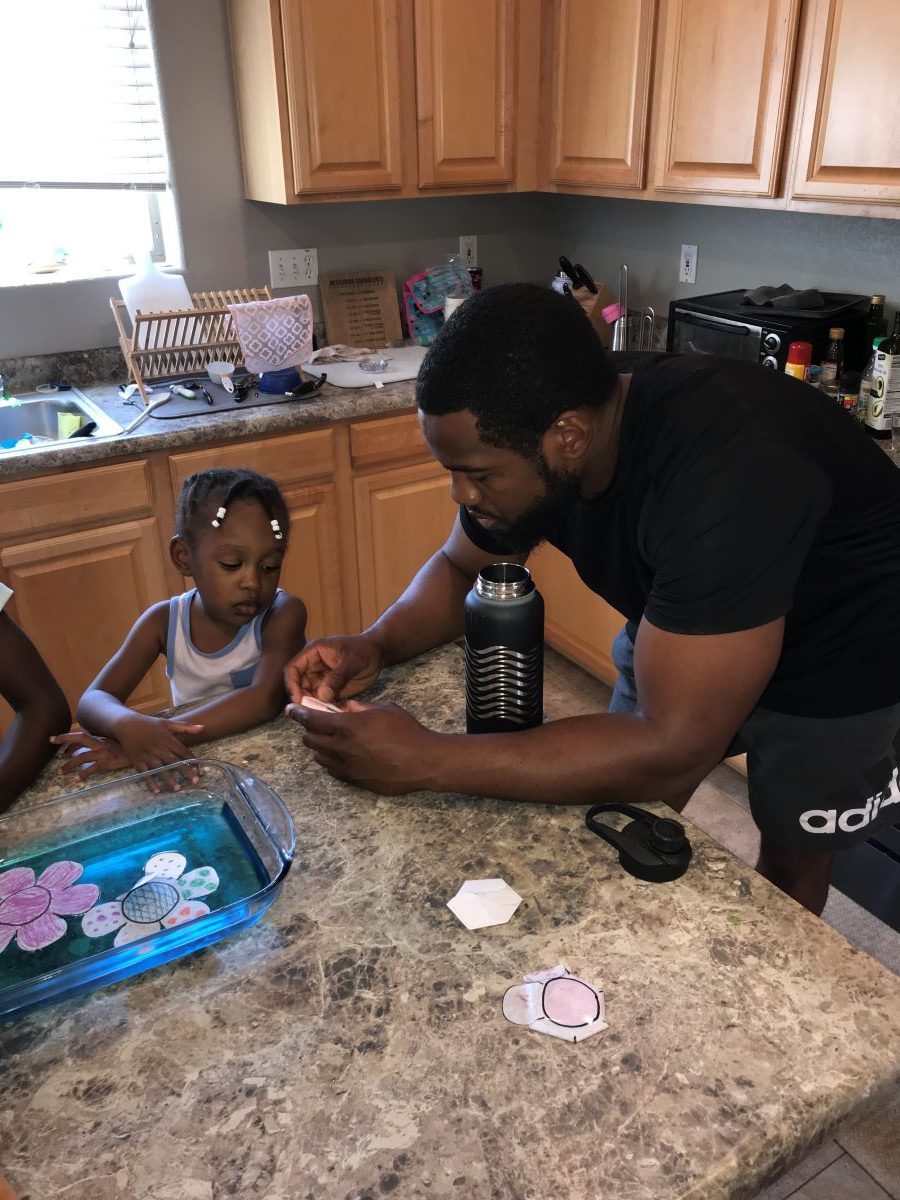
Then, I showed Ayla how to fold her set of flowers. I folded Noelle’s because she was only 2.5 years old at the time we did this project.
The Results
Finally, we took our flowers to the kitchen and placed them into our pan of blue water. The girls were instantly in awe of how the flowers opened up once they were placed in water. It seemed almost magical to them. I absolutely loved the look on their faces as they watched the flowers unfold one after another.

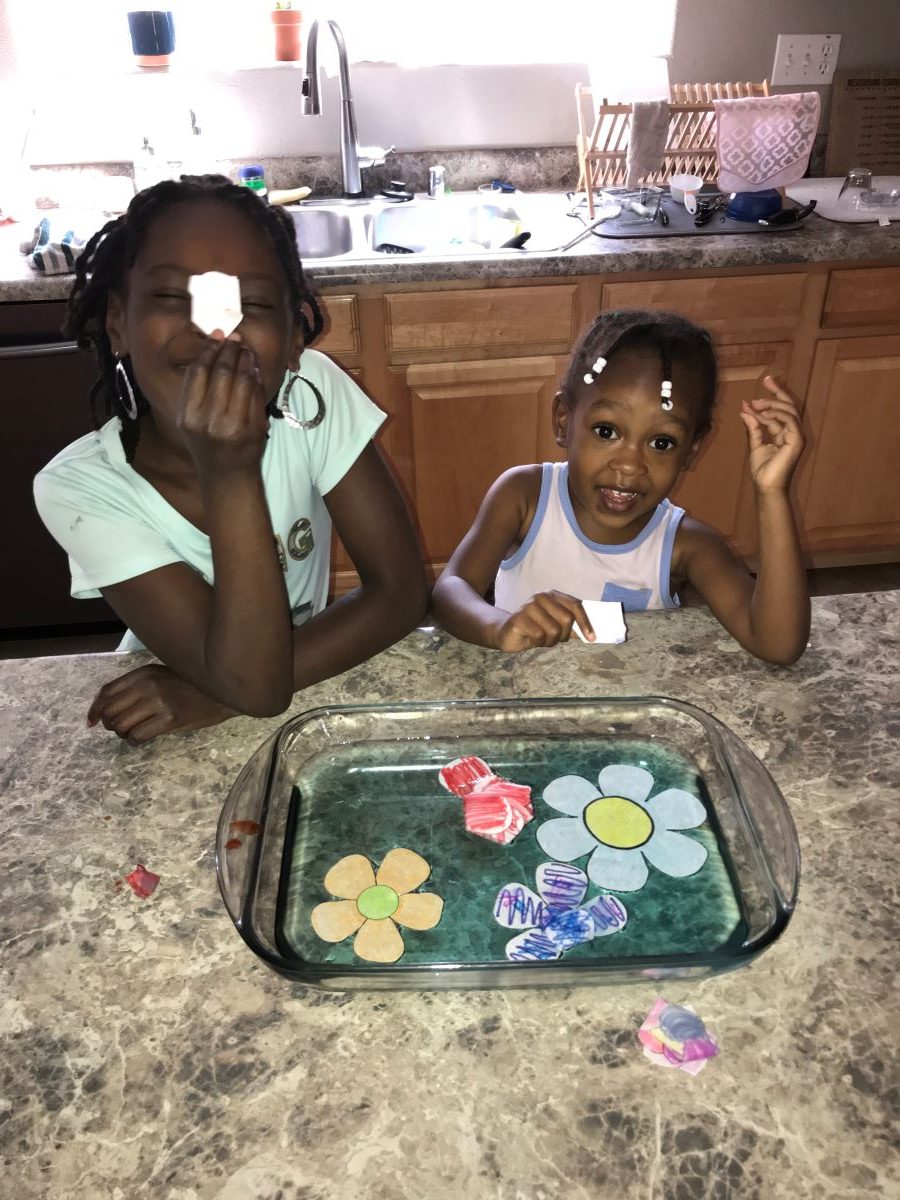
After a few tries, I explained that the flowers “bloomed” due to capillary action. I didn’t get too deep with the explanation because their young minds weren’t ready for a heavy scientific answer. I just told them that the paper absorbed the water causing the flower to unfold. That was a sufficient enough answer in the moment.
**Special Note**
We found that the flowers colored with crayon worked better and lasted longer than the ones colored with marker. The ones colored with marker got soggy and the ink bled into the water. We weren’t able to reuse them after one use. The flowers colored with crayon seemed to work better. Apparently, the waxy coating acted as a waterproof layer which preserved the flowers a little better. They dried pretty well and we were able to use them again.
After we finished playing with the flowers, we cleaned up our mess, put our supplies away, and moved on with our day.
Final Thoughts
In conclusion, I think this experiment is a fun activity to do with children. It’s easy to set up, execute, and explain to young children. Try it with the kids in your life. I promise you won’t regret it.