During my nieces two week visit, I had to come up with a lot of fun activities to do while they were here in Arizona on vacation. One of the ideas I had on my long list of activities was baking ice cream cone cupcakes together. I felt it was a creative and tasty activity to do with them on one of our slower days in the house. They seemed relatively easy to make and required only a few ingredients. Therefore, me and girls spent a fun few hours making these delectable treats while trying to keep cool in the house.
If you are interested in how we made these cute confections, take a look at the process below.
How It Started
As usual, before we started, I researched how to make these sweet treats on Pinterest and YouTube. I read a few blog posts, looked at a ton of pictures, and watched a couple of videos to make sure I understood the process. I found this video by Baking a Moment on YouTube to be very simple and useful. I also used this American Buttercream Frosting recipe by Sophia Assunta on her Partylicious website to create a wonderful frosting for the cupcakes.
Ingredients/Materials
Here is a basic list of ingredients and materials that we used to create the cupcakes. Click the links above for the instructions and measurements.
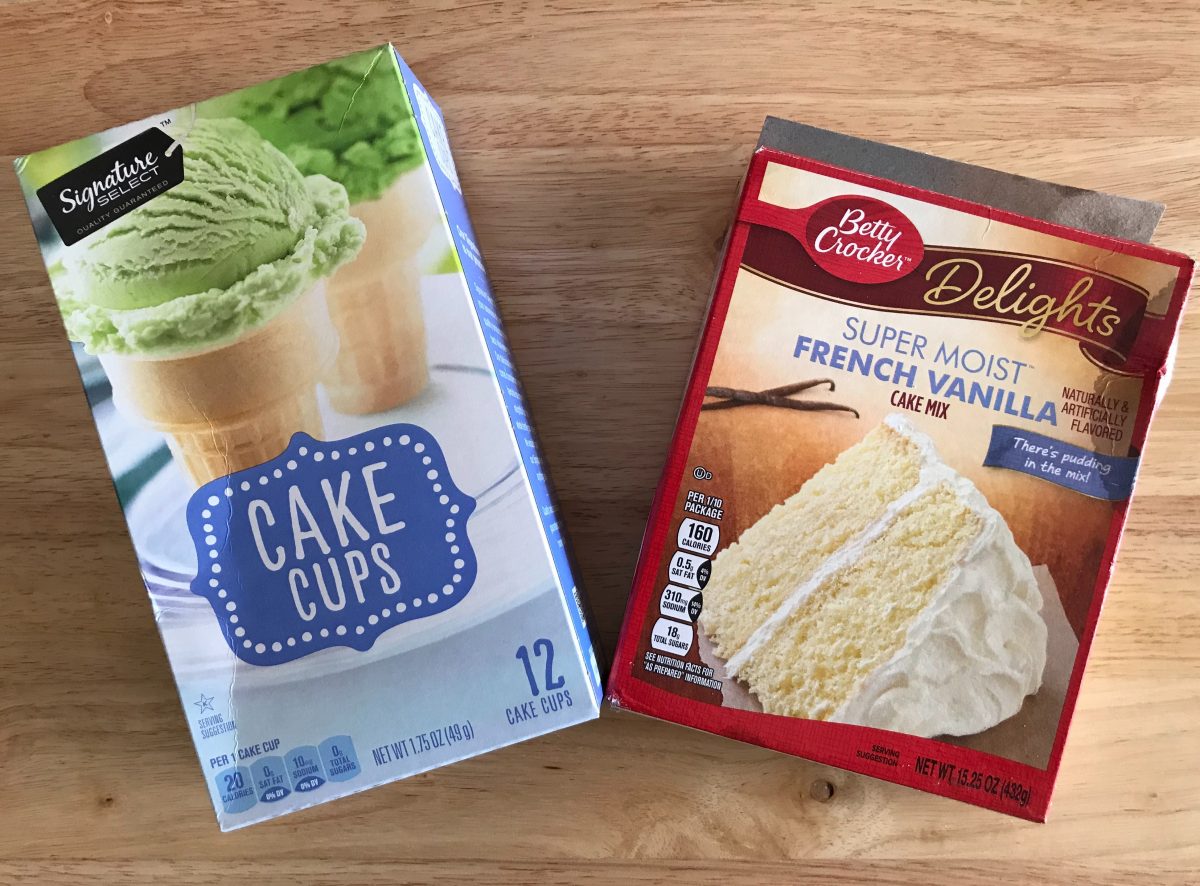
- Betty Crocker French Vanilla Cake Mix (see box for ingredients)
- 2 boxes of ice cream cones (12 count)
- Powdered sugar
- Vanilla Extract
- Milk
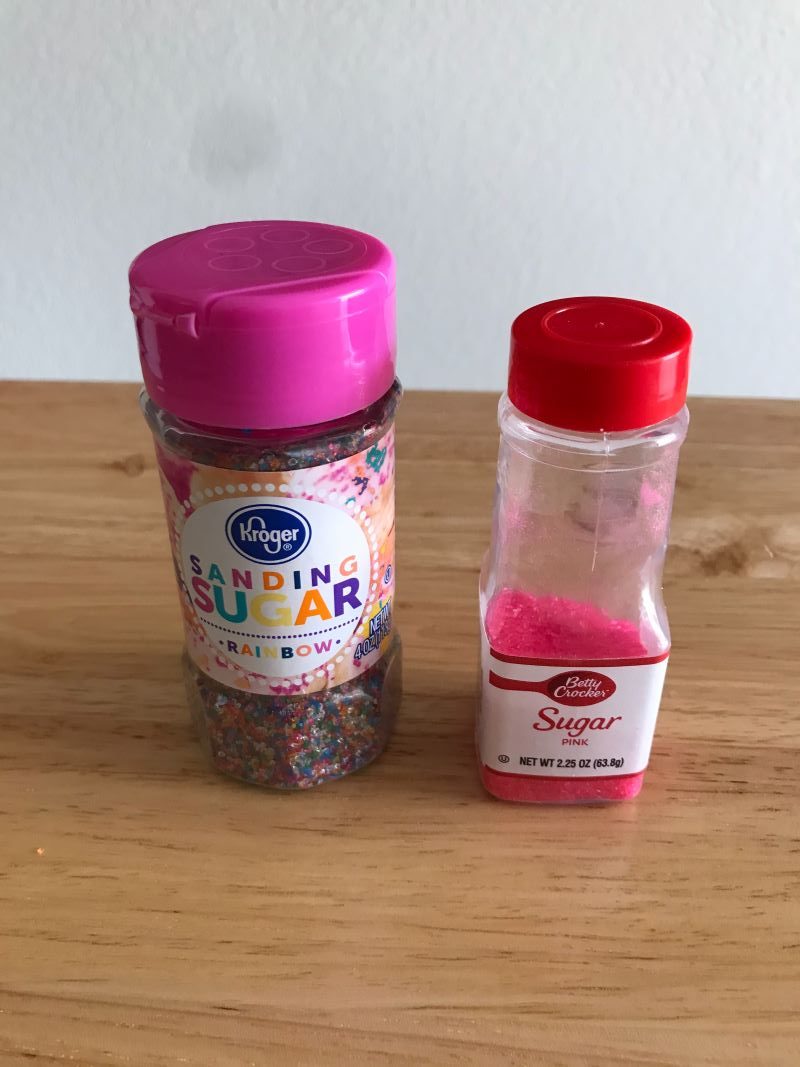
- Sprinkles
- Food coloring
- 2 aluminum foil pans
- Aluminum foil
- Hand mixer
- Ice cream scooper
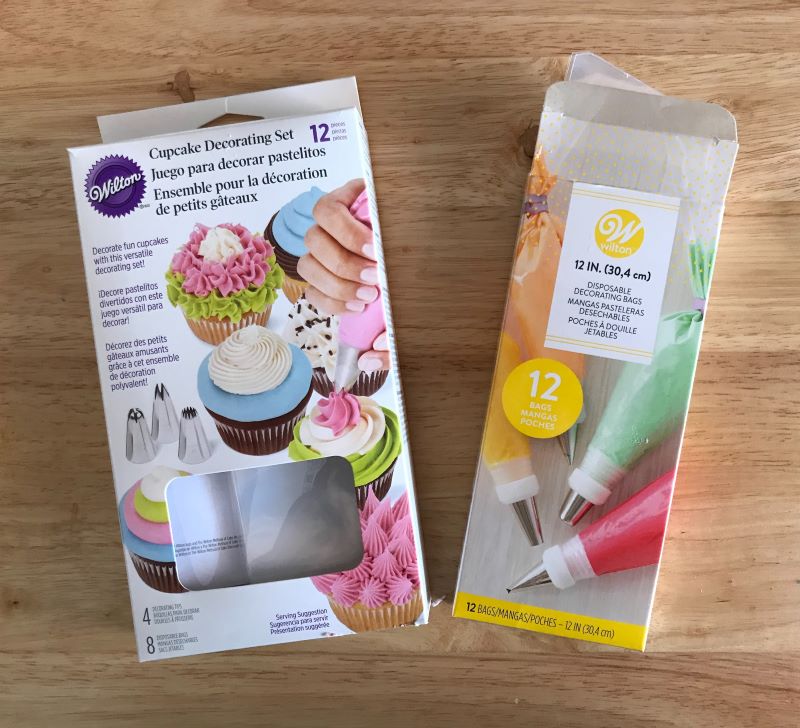
- 2 Icing bags
- 2 Icing tips
The Process
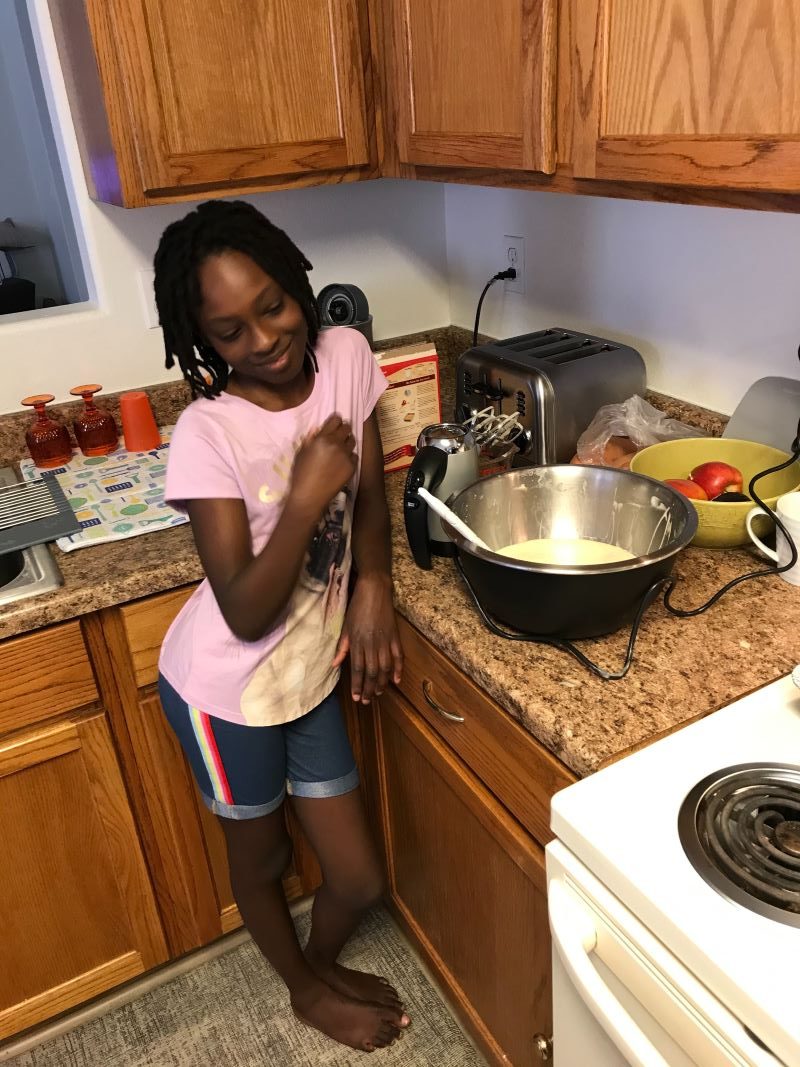
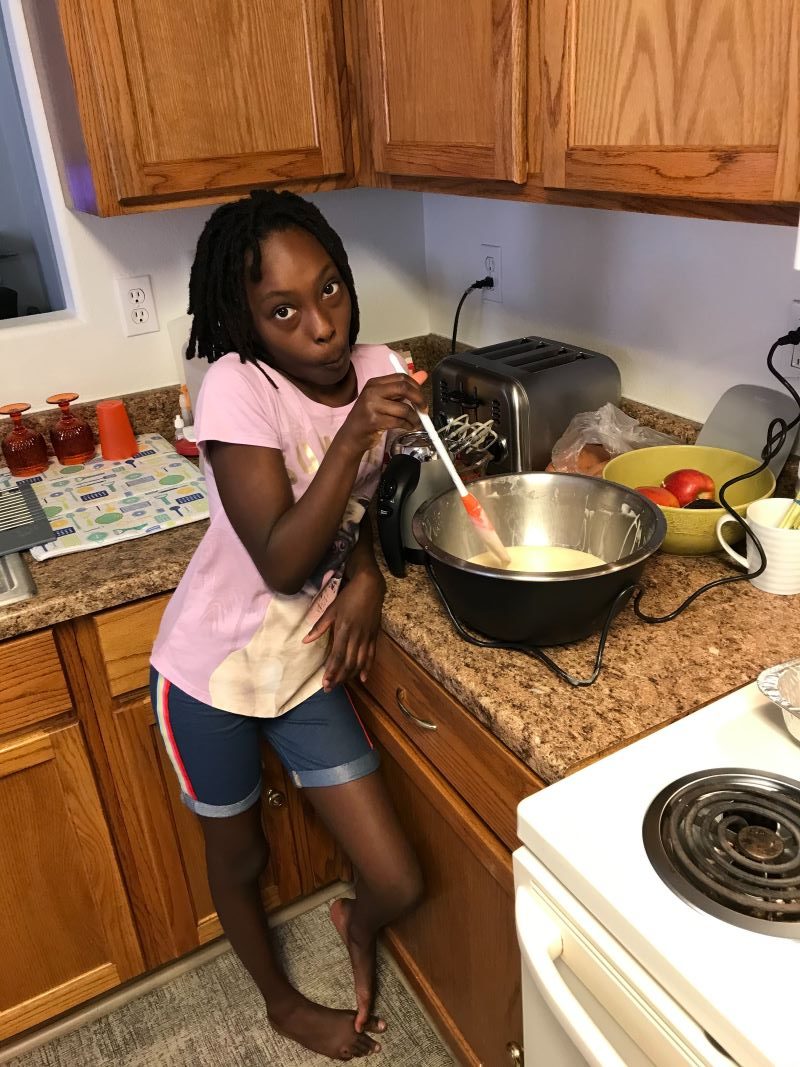
First, I had Ayla and her friend read the directions and take out all of the ingredients needed for the vanilla cake recipe. With a little guidance, Ayla and her friend successfully made the cake batter required for the dessert.
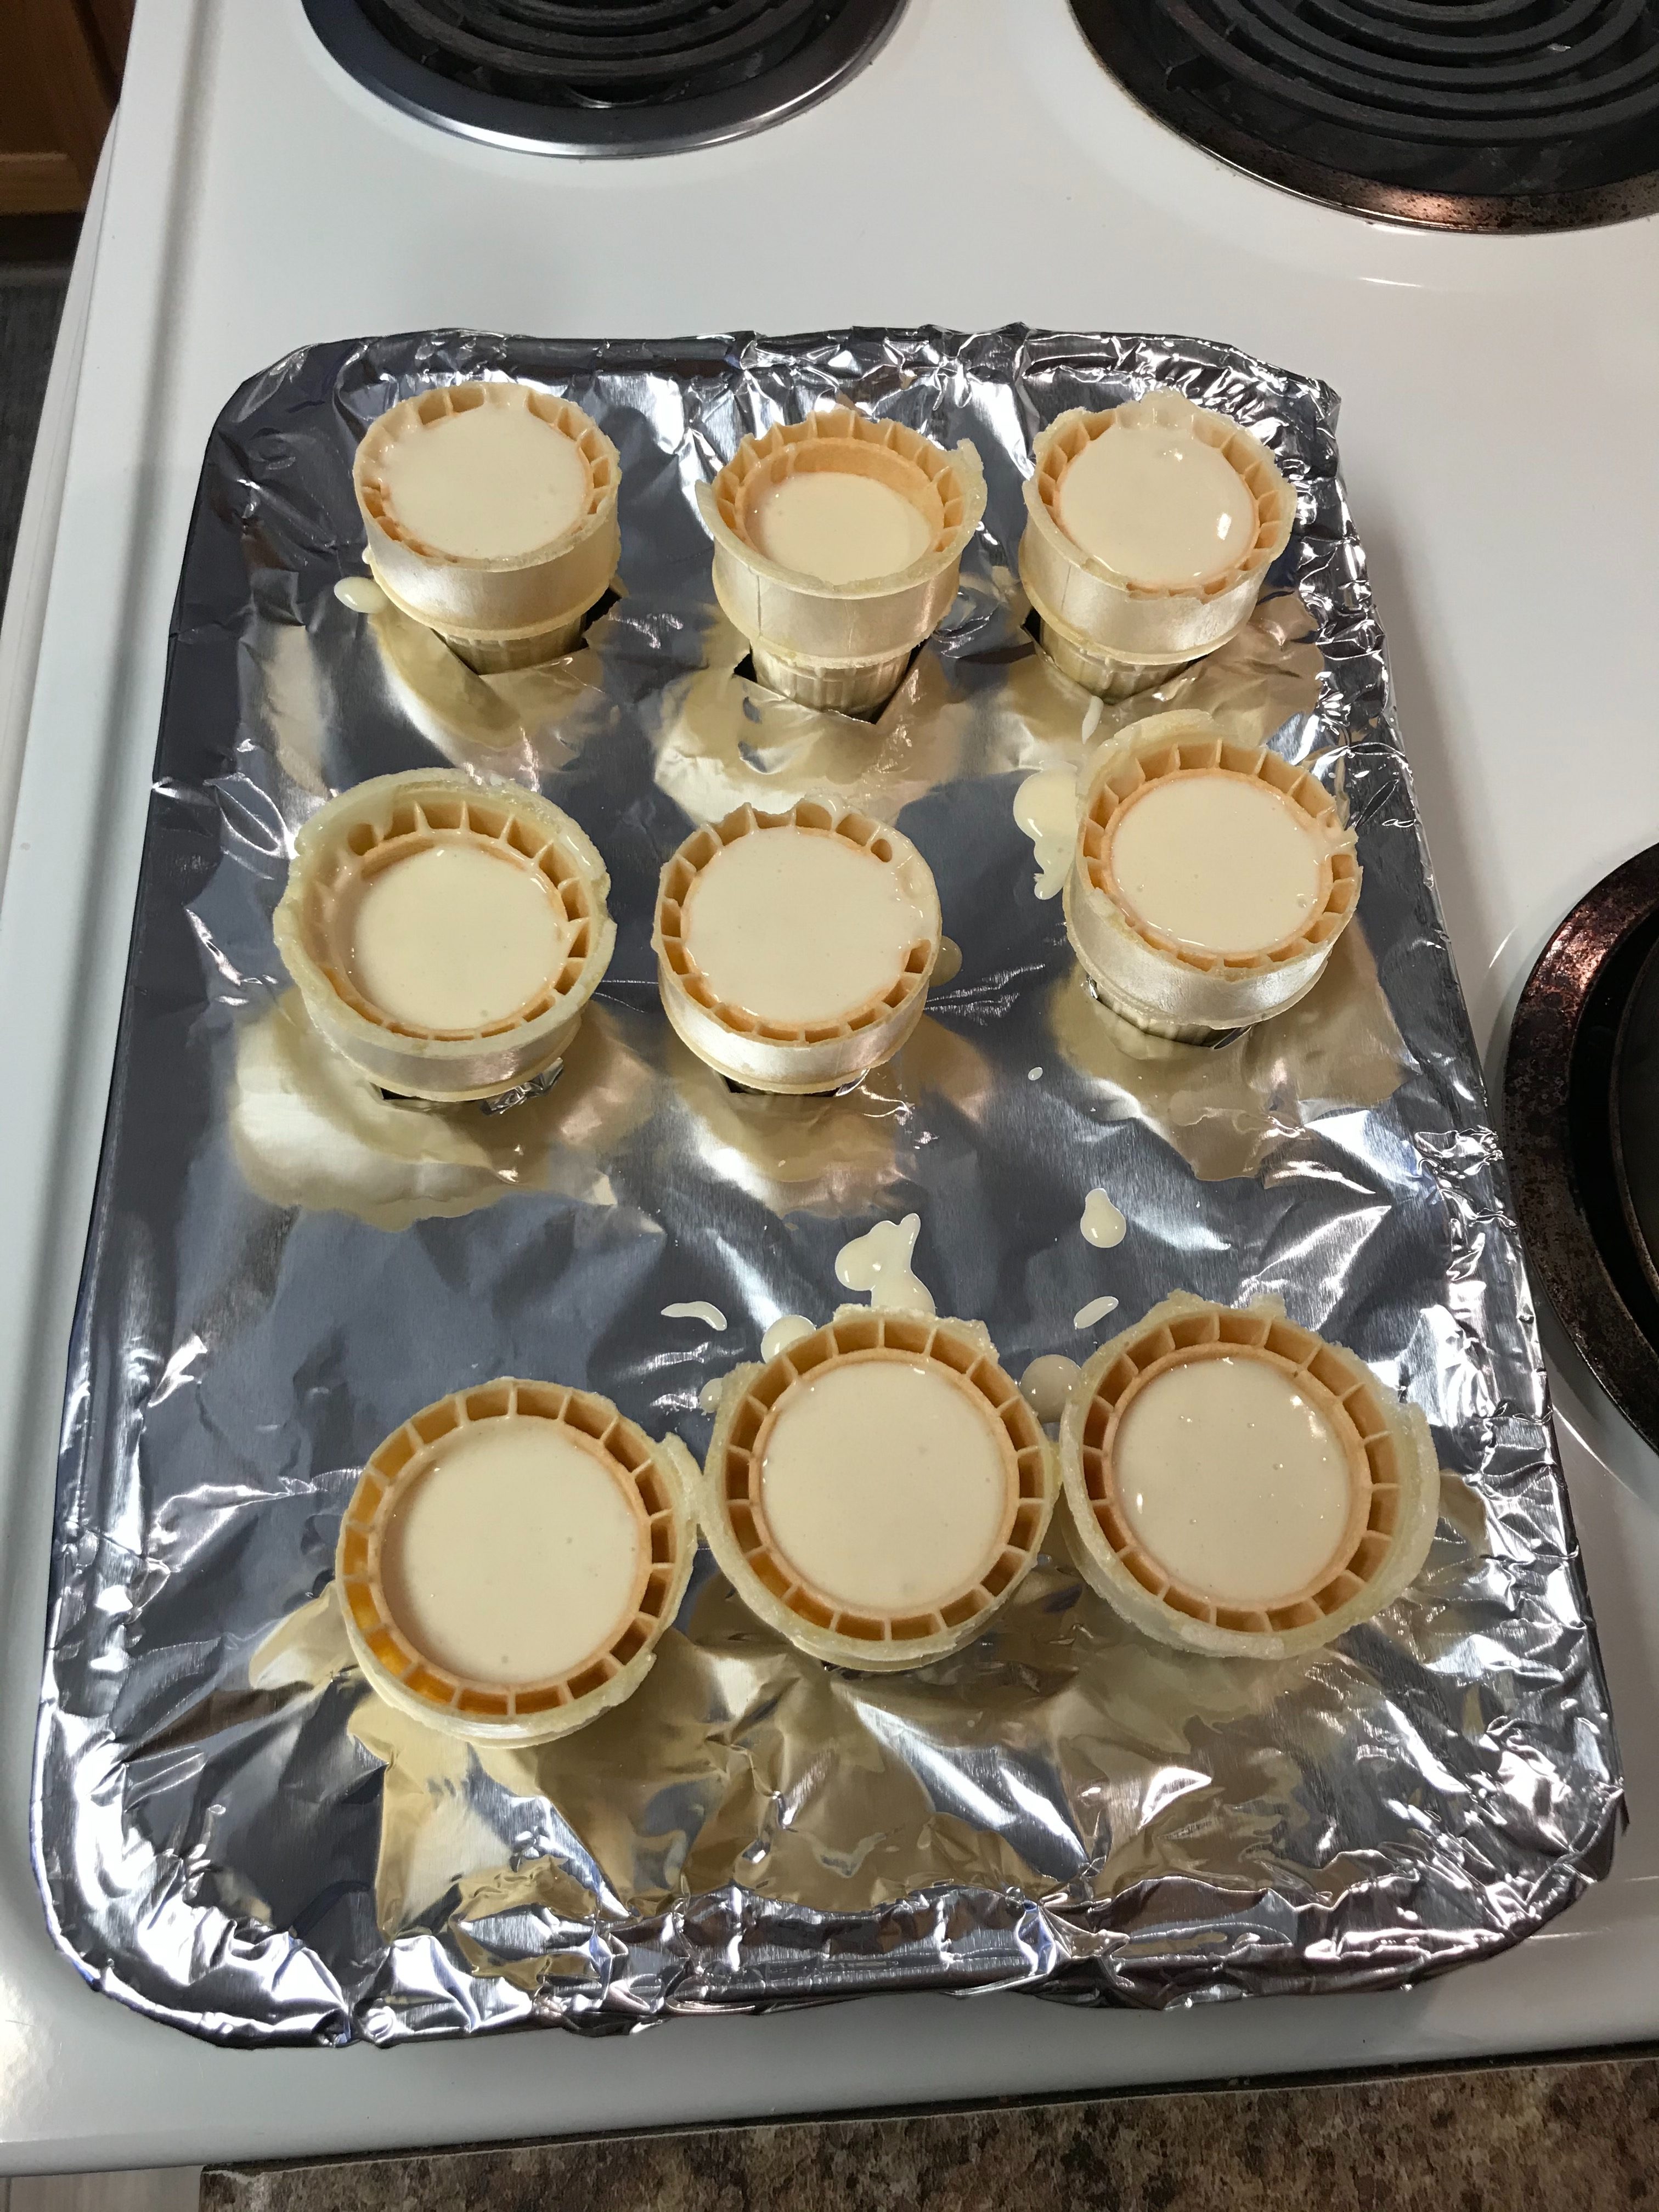
While the girls made the cake, Noelle and I prepared the pans. It was an easy process. First, we securely laid the aluminum foil on top of each pan. Then, we cut holes big enough to hold the ice cream cones. Finally, we placed a cone in each of the holes.
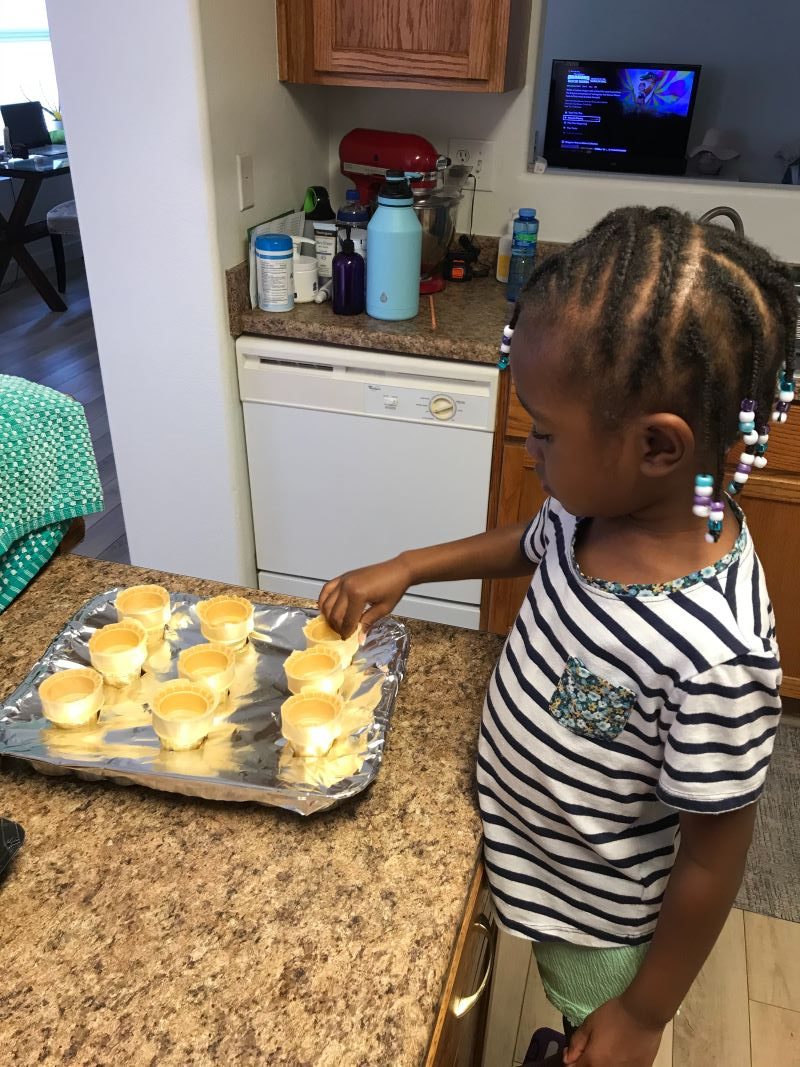
For the next step of the process, we used the ice cream scooper to ladle the cake batter into each ice cream cone. We had a total of 18 cones by the time we were finished.
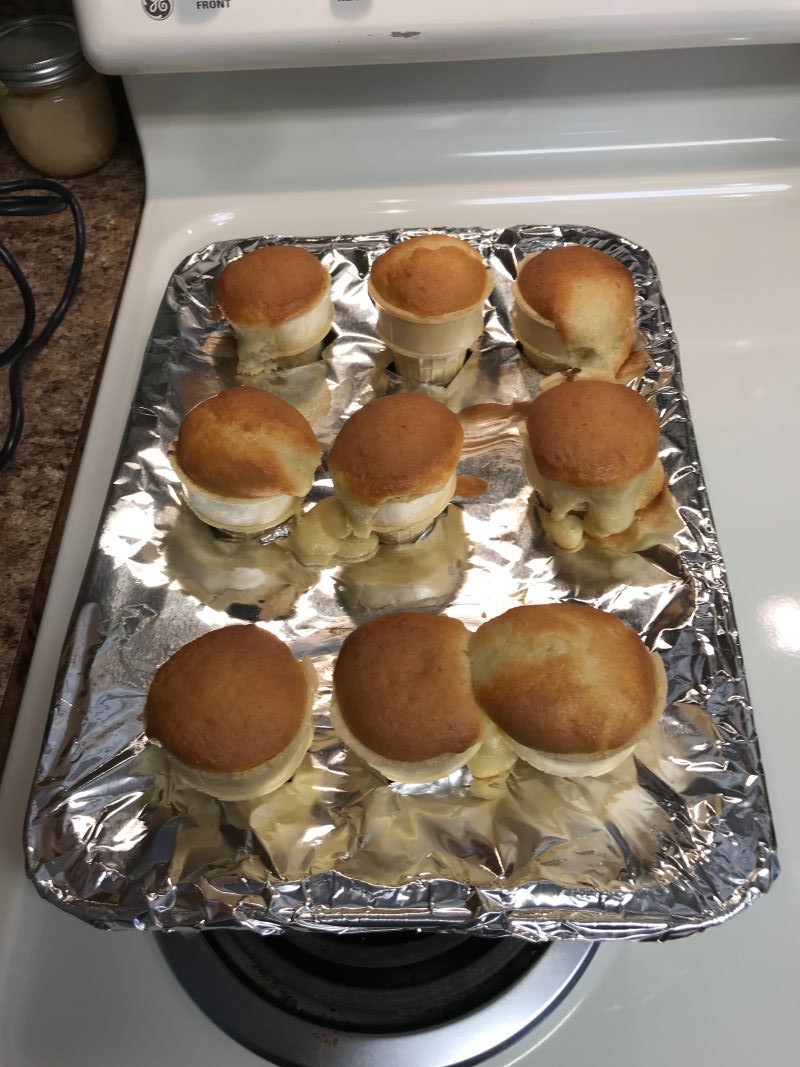
Once each cone was filled, we placed them in the oven and baked them according to the cake mix directions or until the toothpick came out clean. Unfortunately, we learned our lesson about over filling the cones the hard way because some of the batter spilled over onto the foil or connected with the cone next to it.
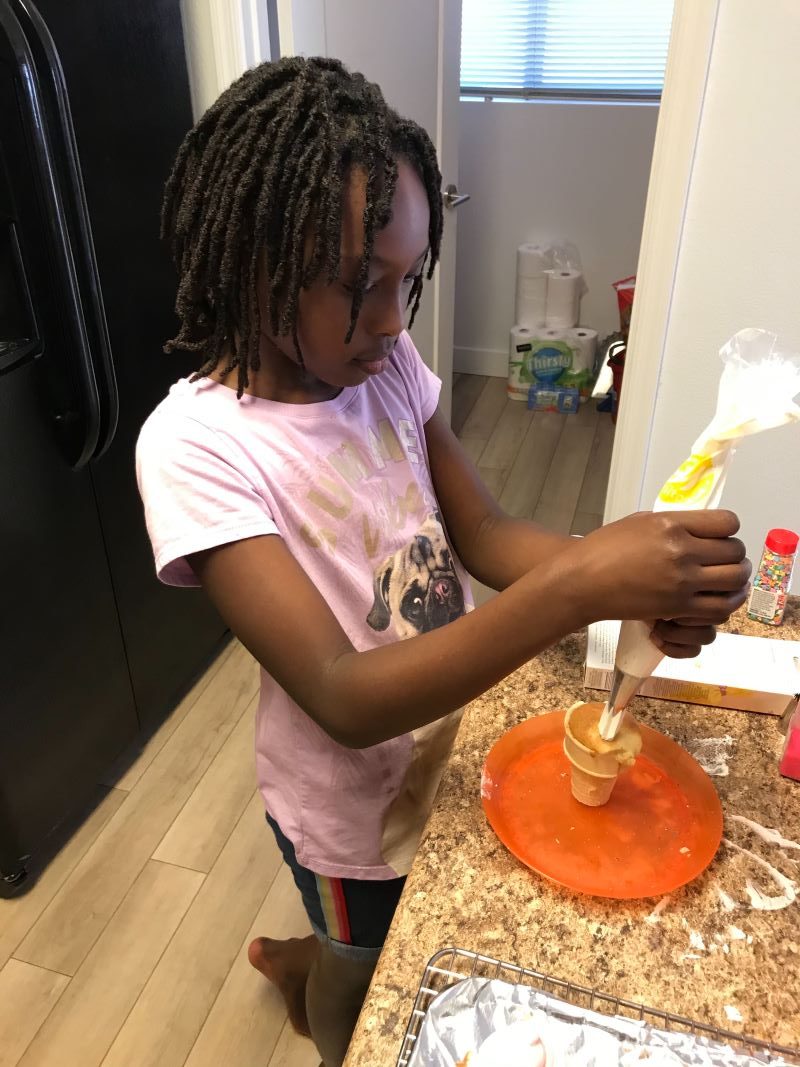
While the cupcakes were cooling, I quickly made the buttercream frosting. I split the frosting in half and added a little red food coloring to half of the batch in order to create a pink frosting. I then placed the white and pink frostings into two bags with different tips.
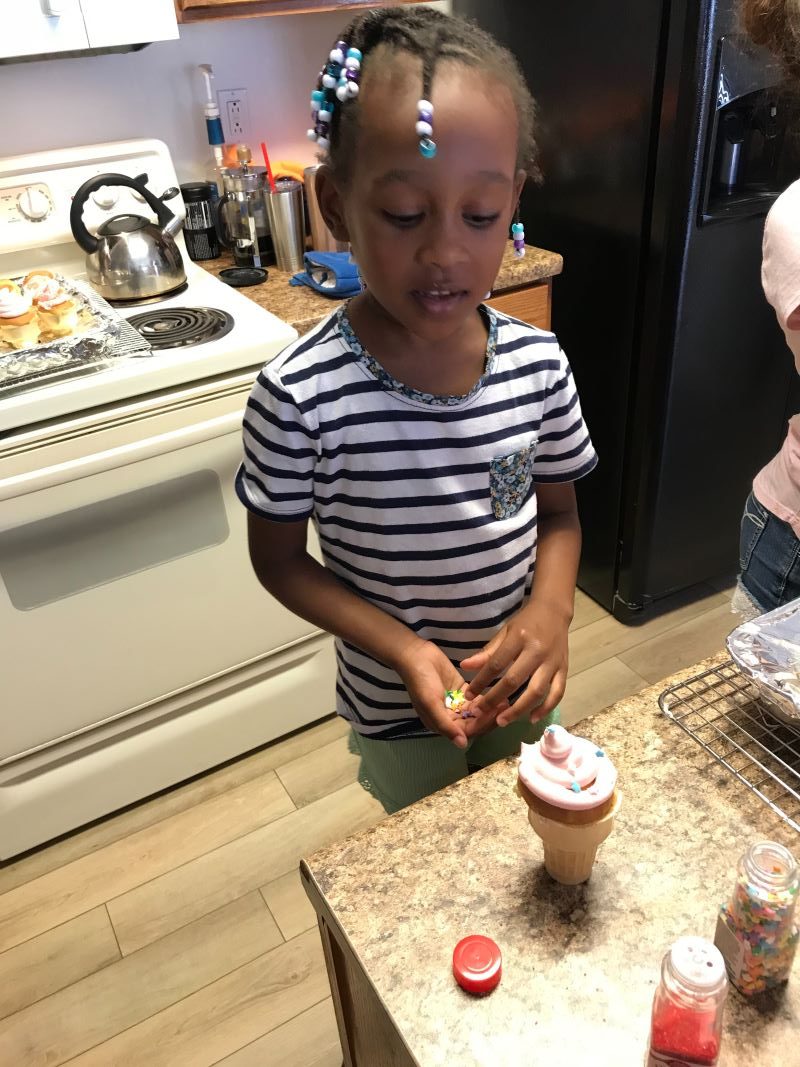
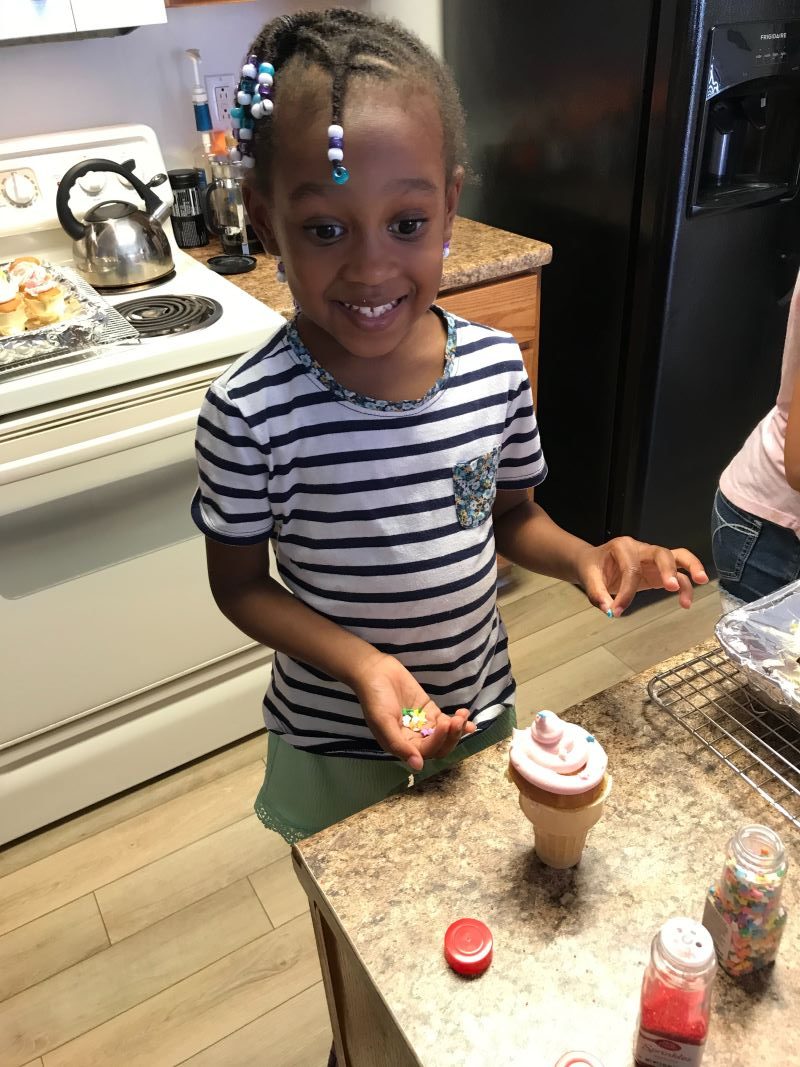
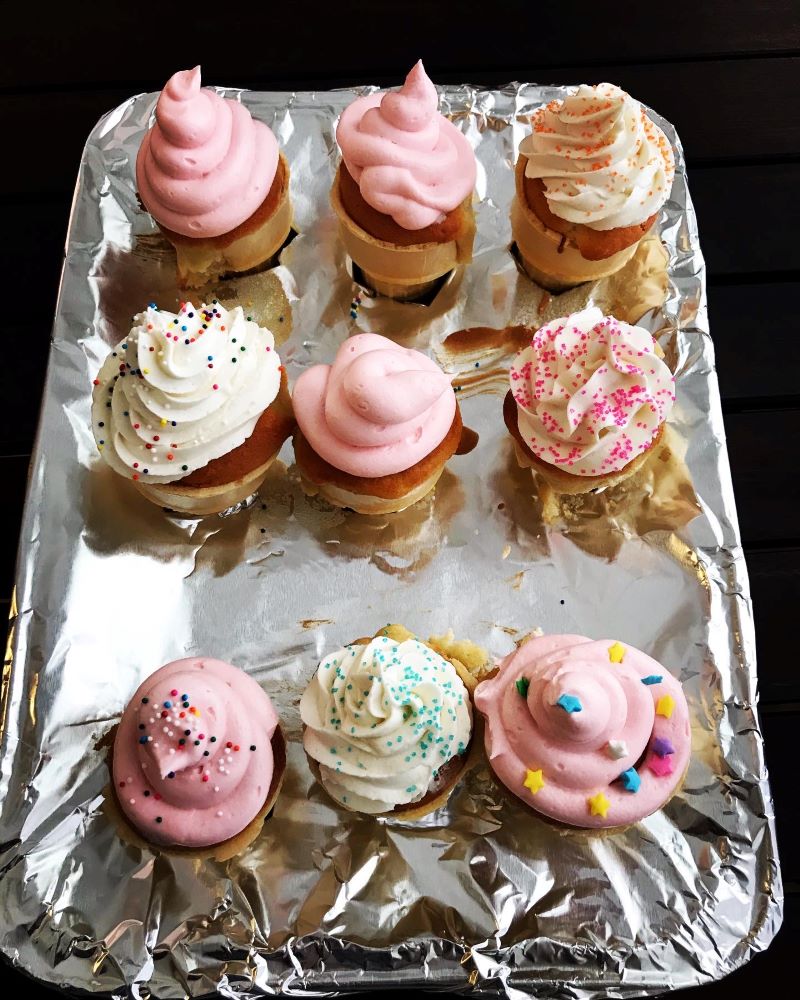
Once the cupcakes were cooled, we began to add frosting to each cupcake. To add a little pizazz to the cupcakes, we added a variety of sprinkles and candy decorations.
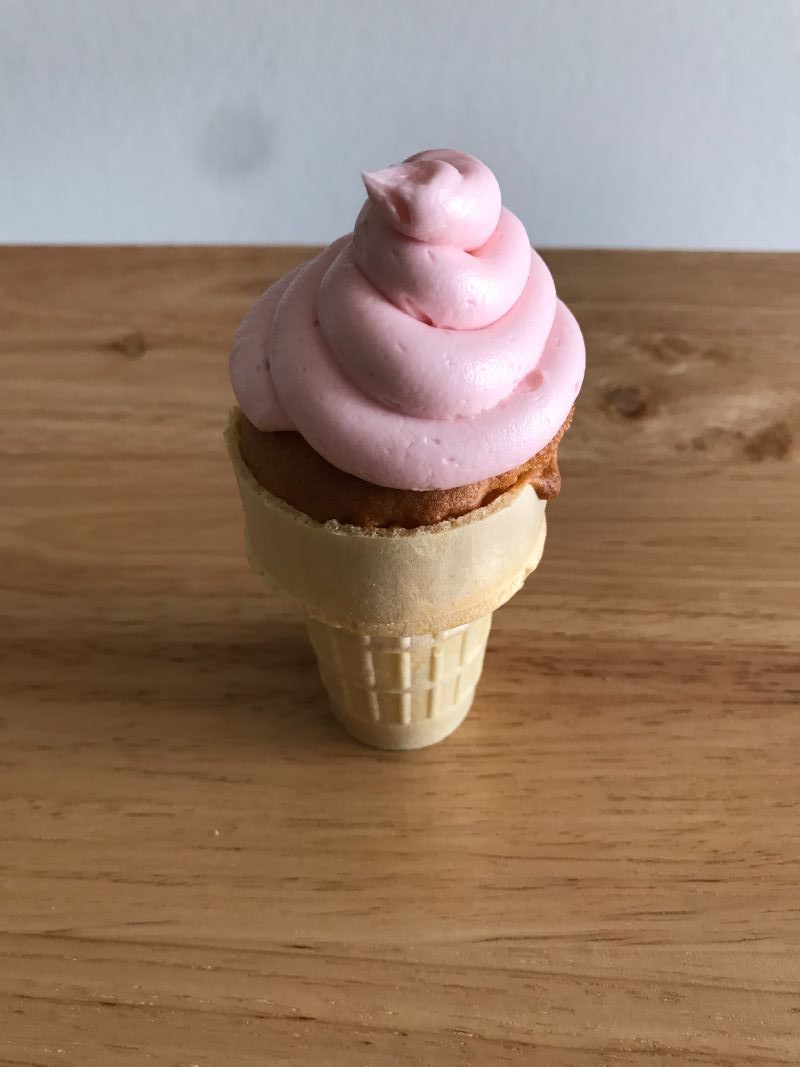
The Results
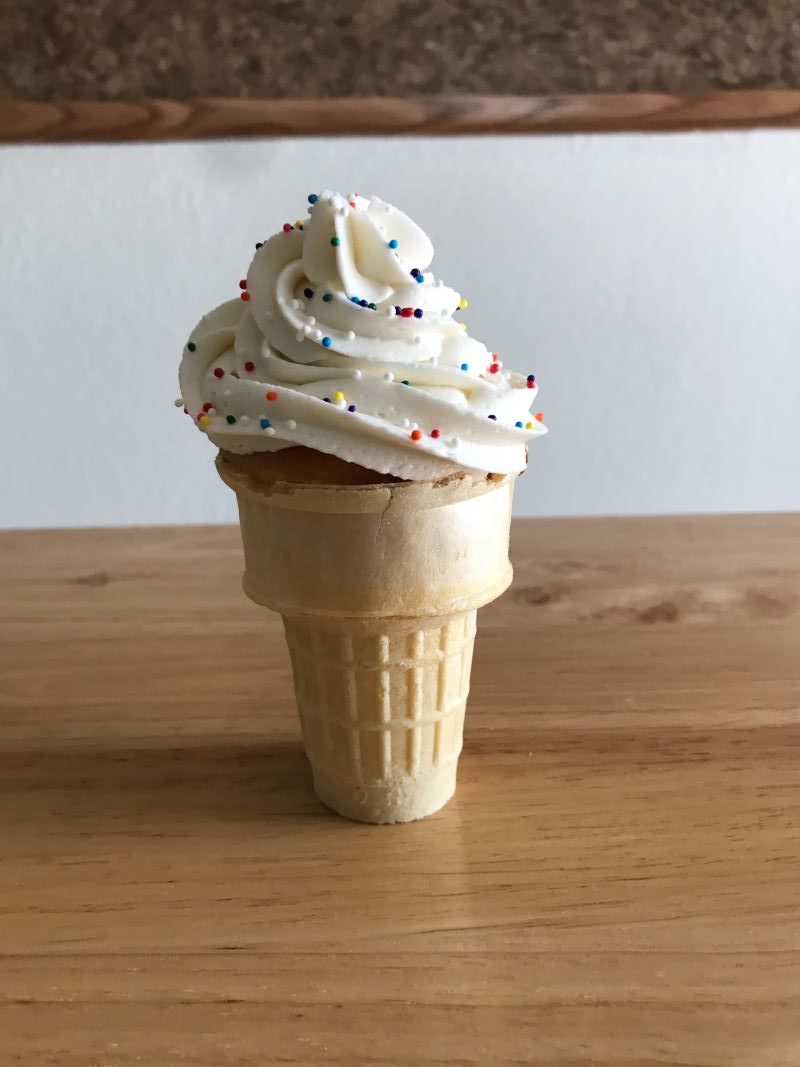
The ice cream cone cupcakes were a success. They turned out just the way all of the blogs and videos described. They were easy to create and very pretty to look at. However, the adults and children had different points of view on how they tasted. The children thought they were great. They loved the entire presentation and flavor of the cupcake.
On the other hand, my mother and I liked the taste of the cake and the frosting, but would have preferred it without the cone. The cone didn’t add any flavor to the dessert. It was bland and chewy. Plus, it made it quite messy to eat.
Final Thoughts
This was an enjoyable activity to do with the kids. We had a blast from start to finish. If you like cooking with your kids, I highly recommend making these ice cream cone cupcakes. It’s a great bonding activity for the family and the children will love it.


