As an auntie, I love finding creative ways to connect with my nieces and make them feel special. Recently, I decided to try my hand at making some cute artwork that they could hang up in their bedrooms. It was a fun and easy project that allowed me to express my creativity while also creating something personalized just for them. In this post, I’ll share the process I used to create the artwork and the joy it brought to my nieces when they received their special gifts.

Noelle’s Artwork
The Process
Coming up with Noelle’s art was a breeze because she had already requested the Miraculous Ladybug picture over a month ago. All I needed to do was research pictures of the character in order to draw something she would like. Of course, I visited YouTube in order to find some inspiration and how-to tutorials. After viewing and saving several videos, I decided to go with a simple tutorial by Draw So Cute. I liked this particular picture because it was easy to sketch. Plus, the drawing resembled the picture of Noelle in her Ladybug costume.
In addition to the picture of Ladybug, I decided to add her sidekick Tikki to the picture as well. I added Tikki because the picture looked plain without another character from the show standing next to her. Tikki turned out to be an adorable addition to the picture.

Once I figured out how I was going to draw Ladybug and Tikki, I had to decide what to draw in the background. My original thought was to draw the Eifel Tower since the show is set in Paris, France. I actually found several basic tutorials to help me achieve my goal. Unfortunately, the final sketch didn’t look great and I had to come up with something else to salvage the project.
The Result
In the end, I decided to cut out the drawings of Ladybug and Tikki and place them on a black background. Next, I printed the title “Miraculous: Tales of Noelle and Tikki.” I made sure I placed a ladybug over the O in miraculous because that is how it looks in all of the examples that I have seen online. Finally, I print and cut out pictures of ladybugs and hearts to add to the background since I didn’t have the Eifel Tower on the page like I originally planned.
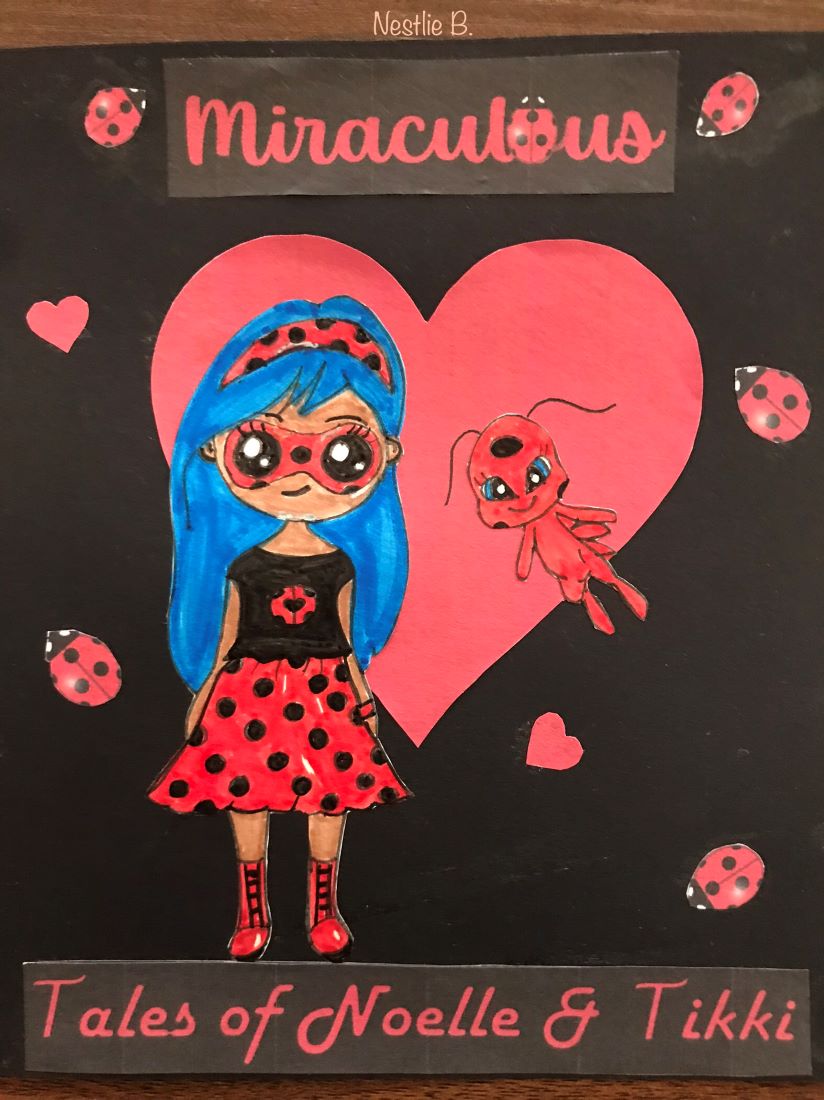
I think the final product turned out great. I just hope she likes it when she finally lays her eyes on it.
Ayla’s Artwork
The Process
Trying to find inspiration for Ayla’s picture was a little more difficult because she is a few years older than her sister and is outgrowing kiddie drawings. I had to put a lot of thought into what would be a more age appropriate picture to create for her that would fit her style. After a lot of thought, I decided to make her a fashion sketch of a girl in a cute outfit because she is a little fashionista.
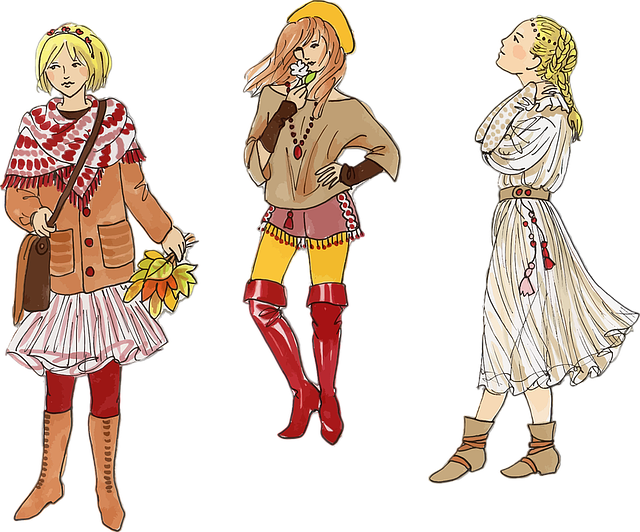
After I made my final decision, I scoured Pinterest and Instagram for ideas. I found several ideas on Pinterest and narrowed it down to one picture that I thought Ayla would like. I chose this particular picture because the girl was wearing an outfit I thought Ayla would appreciate.
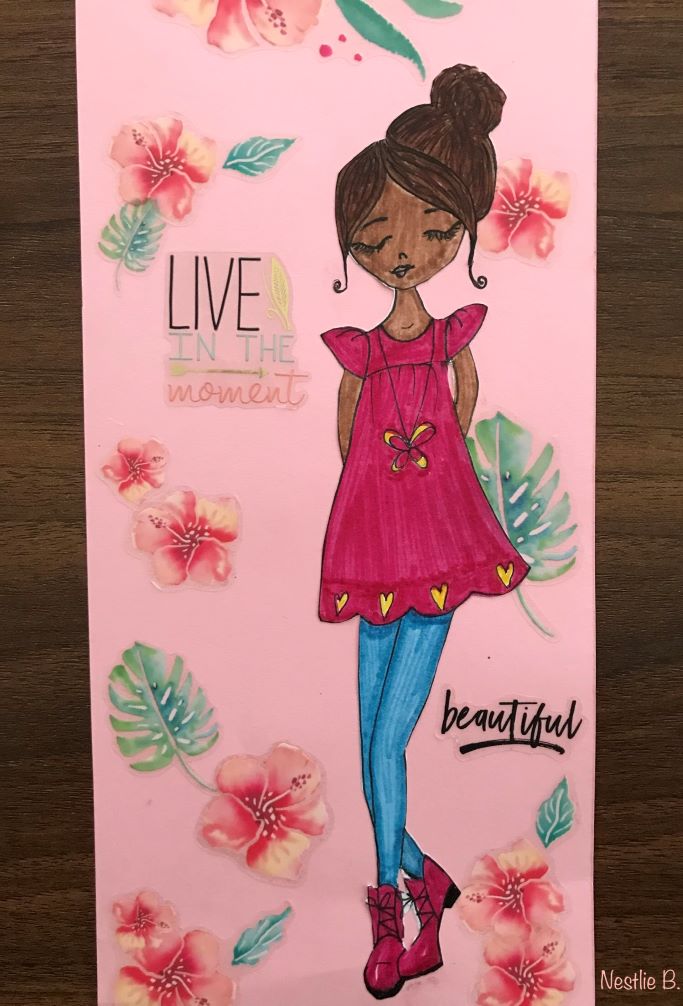
I colored the picture and cut it out once I finished sketching it. I was a bit nervous about the face because the color was a bit patchy and off. Ultimately, I thought it would be fine and proceeded to transfer it to a pink piece of cardstock. Finally, I found some stickers in my stash that looked lovely in the background.
The Result
The final picture looked fun, floral, and cute enough for a 10 year old girl. The flowers that I chose were a bit on the tropical side, but somehow looked nice alongside the sketch. The phrases I used on the picture looked nice, but I wish I had some different ones to use instead. I would have preferred more fun statements to use, but I didn’t have a lot to choose from in my stash. Oh well. Maybe next time. It’s still cute though.
Final Thoughts
These drawings were cool to create. I enjoyed the creative process and was proud of my creations. Most importantly, I was able to create a sweet personalized item for my nieces that I hope they will cherish for many years to come.


