It’s been a while since I’ve made a Pen Pal With Me post, but I’m finally at a place where I can send a few letters to my close family and friends. The recipients of these letters are my Cousin Kola and my bestie Kendra. They are both very special to me and I really wanted to send them some pretty happy mail.
After a lot of thought, I finally settled on a few themes for my letters. It took me a while, but I was able to come up with two very different designs that stretched my creative skills. I decided to wait til my spring break to design my snail mail in order to give myself time to make something unique for the two of them.
The Design Process
Kendra’s Letter
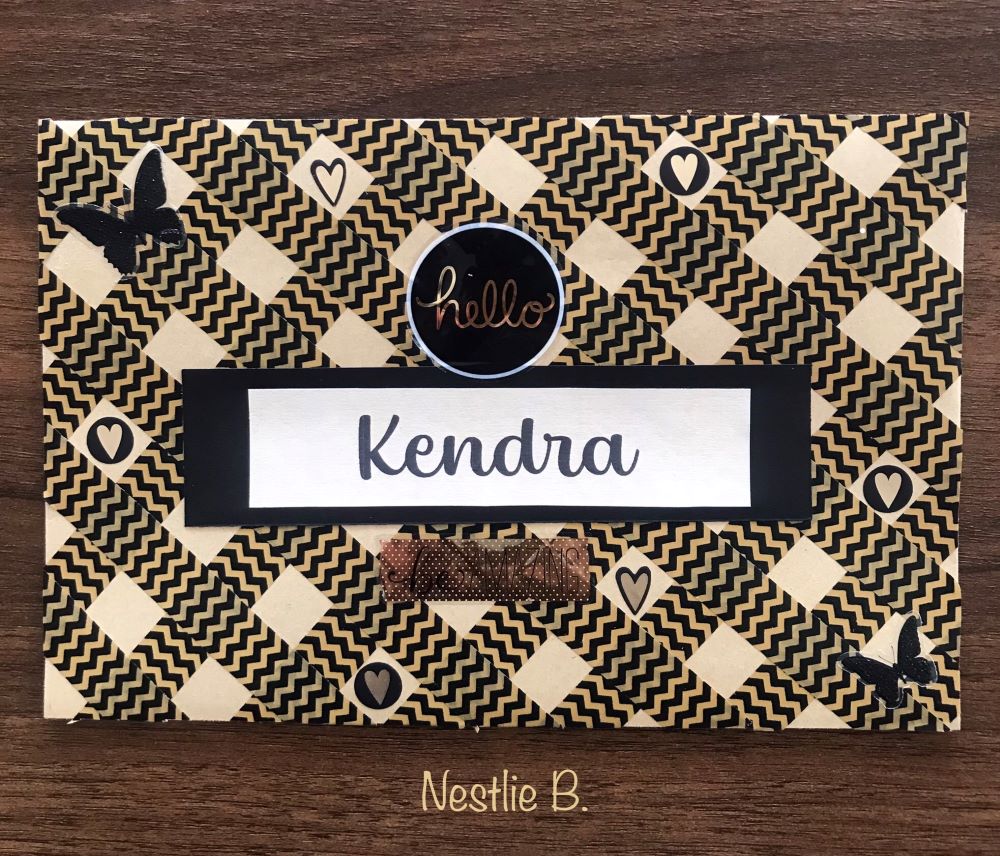
For Kendra’s letter, I was going for a vintage vibe. My initial idea was to use the craft paper envelope as a background for vintage stickers, washi tape, and scrapbook paper. However, as I started going through my stash, I quickly realized that I didn’t really have a lot vintage supplies to go with my theme. Therefore, I had to come up with another idea that fit with the supplies I had to work with.
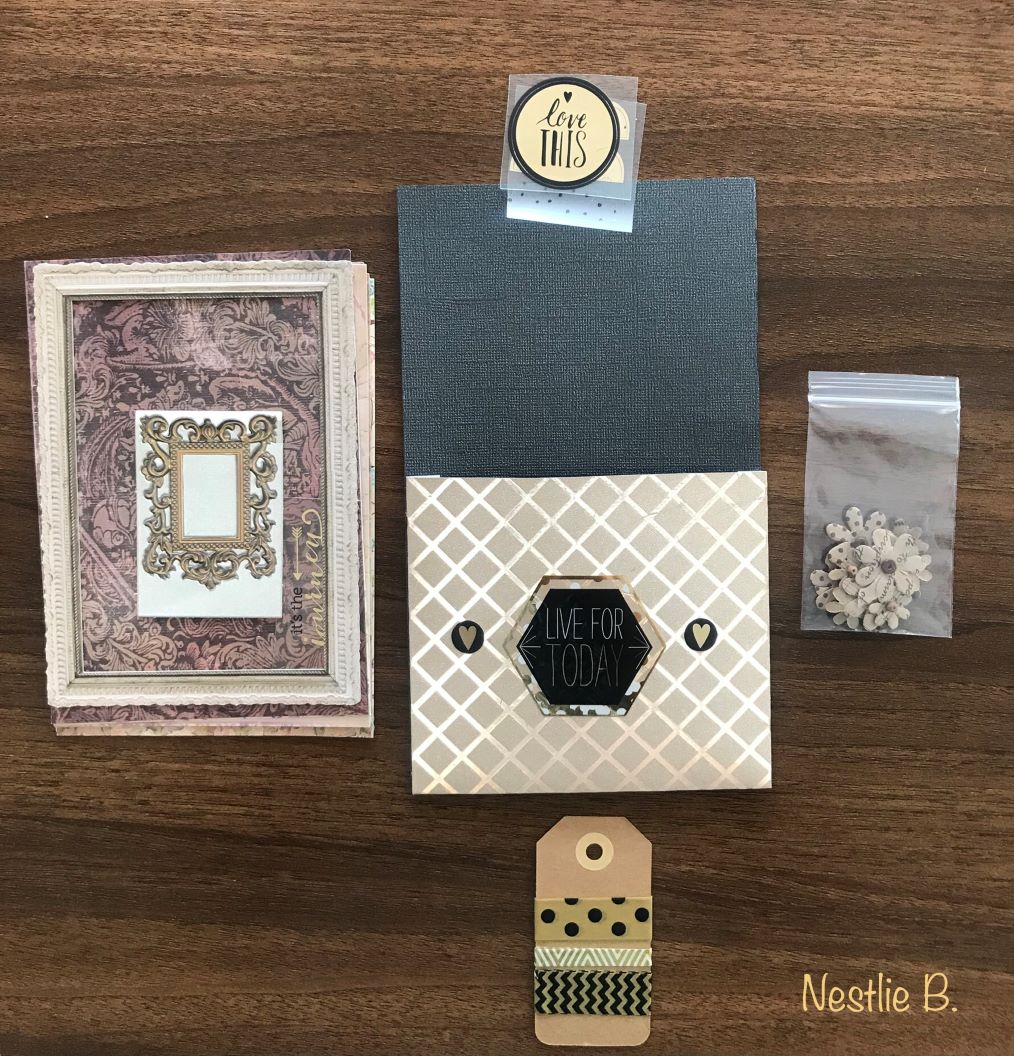
It took a long time for me to land on a different idea, but I finally stumbled upon some washi tape that was the foundation for my design. Ultimately, I decided to do something very classy and glam based on the colors gold and black.
Envelope Art
For the envelope, I created a grid pattern using the washi tape. I based this design on a video by Cat’s Planner on YouTube. Once complete, the pattern turned out to be a wonderful backdrop for the black and gold stickers I used to embellish the envelope. The addition of the flowers, hearts, and phrase really made the design pop.
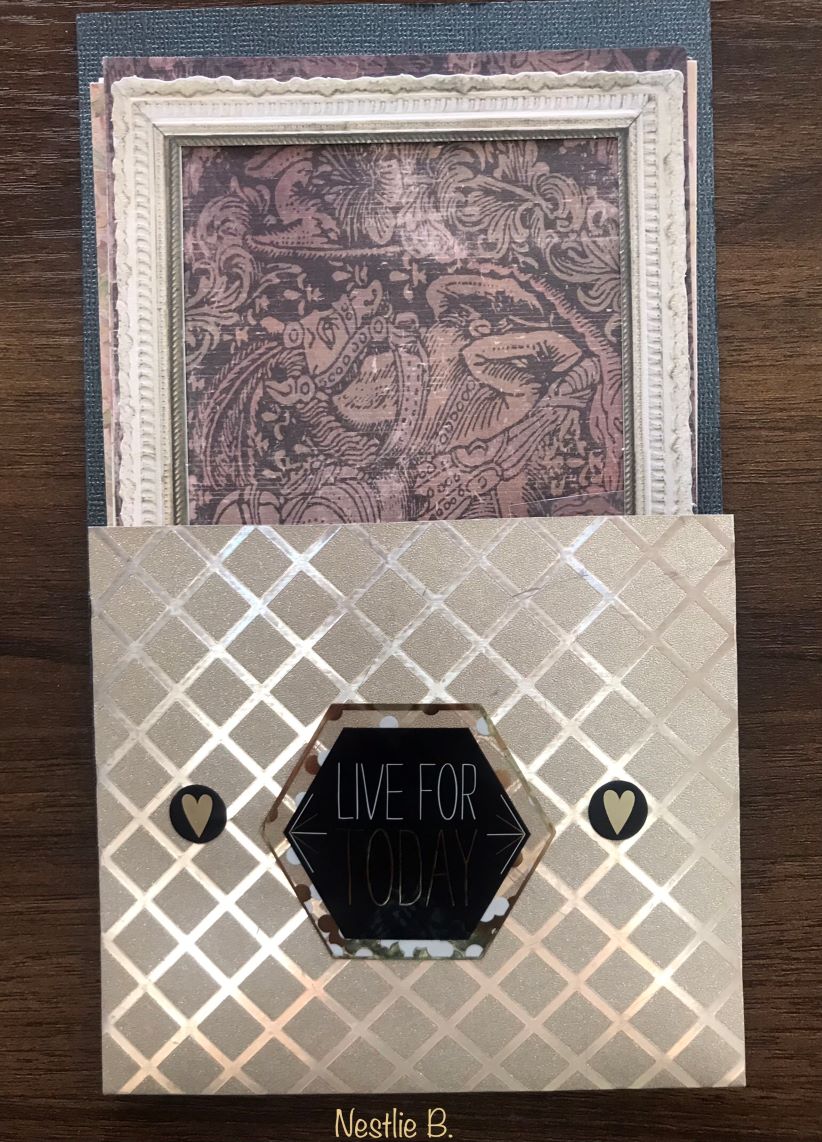
The Inside Pocket
The pocket was simple to create. First, I measured and cut the black backing to fit the size of the envelope. Second, I made the pocket out of a gold metallic patterned cardstock that I had in my collection. I affixed it to the backing using my tape gun, pressing it down firmly to ensure that it stayed in place. Finally, I decorated the pocket with black and gold stickers for a polished final touch.
Kola’s Letter
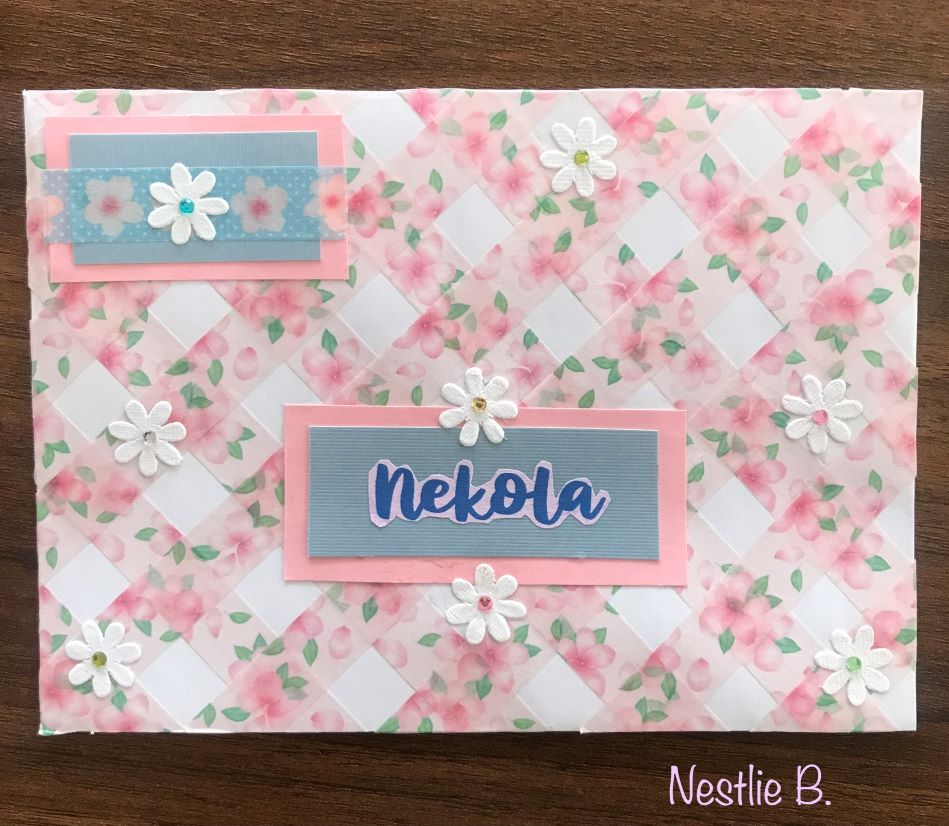
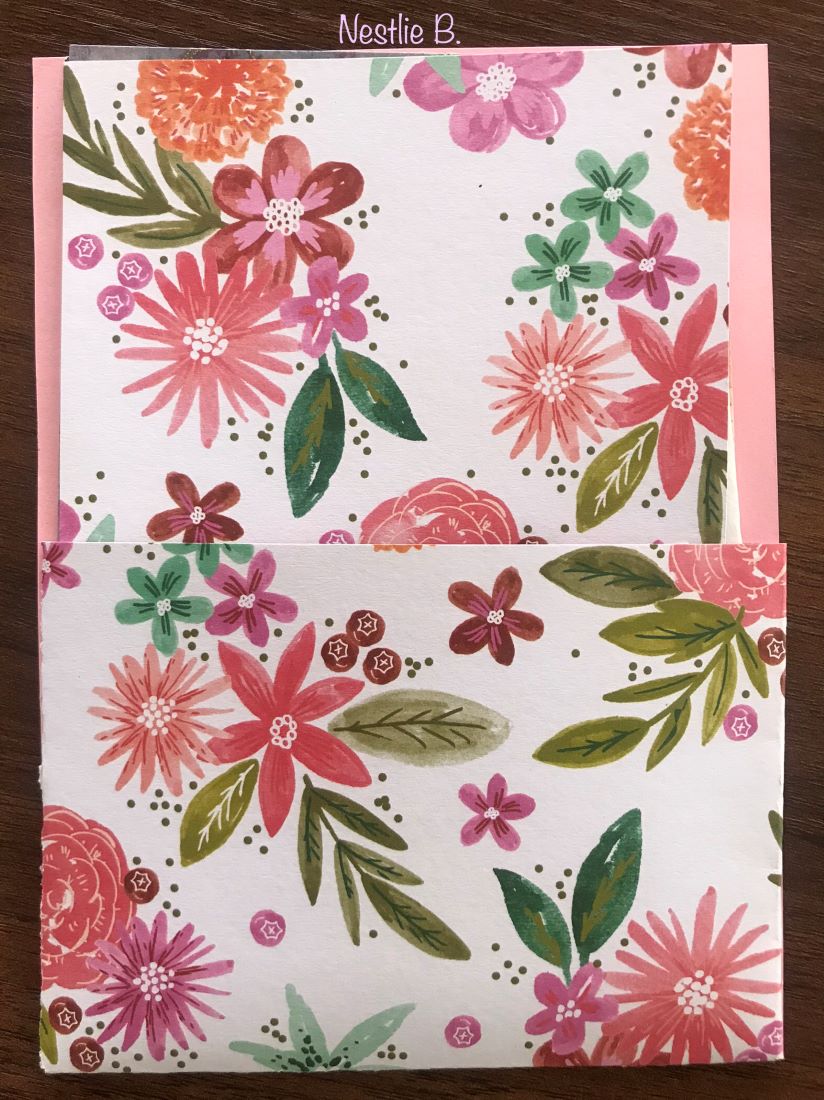
The theme for the second letter was spring flowers. This letter was much easier to complete because I had all of the supplies necessary to create this design (I have flowers of all shapes, sizes, and colors coming out of my ears). I was able to easily decide on a floral pattern scheme based on the washi tape that I used for this project.
The Envelope
I used the same grid pattern on Kola’s envelope that I created on Kendra’s. It turned out just as pretty as the first design. However, it had a different vibe because of the floral pattern. After I finished the grid, I decorated the rest of the envelope with white flowers and a blank pink and blue area to add her name.
The Inside Pocket
The pocket for Kola’s letter was fairly simple to make. I used the same process to create the envelope using pink cardstock for the backing and a floral patterned piece of paper for the pocket area. Since the pattern on the pocket was a bit busy, I chose not to add any additional embellishments to the pocket.
Letter Contents
The Letter
Inside each envelope, I placed the following items:
- A personal letter.
- A set of questions.
- My answers to the questions.
- A fun random fact.
- A playlist of songs that I’m currently listening to this month.
The Pocket
Inside each pocket, I placed the following items:
- Stickers
- Scrapbook paper
- Stationery
- Washi tape samples

Note: I was a little nervous to add the crafty materials to Kendra’s letter because those items aren’t really something she uses often. However, in the end, I thought it would be a cute idea to send them anyway. I wanted her to have the full experience of what it’s like to receive one of my letters full of goodies. Hopefully, she can use the items to create other pen pal letters or find other craft projects that could use some fun decorations.
Final Thoughts
Although it took me a while to create these letters (3 days to be exact), I truly adored how each letter turned out in the end. Kendra’s letter looked retro and classy, while Kola’s letter looked soft and feminine. I can’t wait for them to receive their letters and get their reactions.


